A Complete Dirt Bike Maintenance Guide
Posted by ZM Performance on Mar 9th 2022
Riding a dirt bike is exciting. Whether you’re on a scenic trail, a race track or just zooming around your own property, it’s an experience like no other. The roar of the engine when you twist the throttle accompanied by the smell of gasoline really can get your adrenaline pumping. Let’s be honest though… We don’t take it easy on our bikes, no matter where we’re riding. This is why it is so important to check your bike thoroughly for potential problems before every ride. This won’t only save you from the walk of shame, pushing your bike back to camp, but it will keep your bike performing at peak levels and ensure you always have a good time on the trails. Not only should you always complete pre-ride checks, but routine maintenance is also vital if you want your bike to have a long life. You may even decide to sell your bike one day to upgrade to a bigger, better ride, and a well-maintained bike will fetch a much higher price. Throughout this article, we will discuss in detail everything you should do/check before each ride, routine maintenance schedules, and everything else you need to know to keep your bike performing at its best.
Getting Started with Dirt Bike Maintenance
Before diving into the more thorough maintenance that every bike requires, let’s make sure you have a good understanding of the most important things to check and do before EVERY ride. While this isn’t an exhaustive list, it does cover the most vital pre and post-ride maintenance to keep you safe and ensure your rides are always enjoyable.
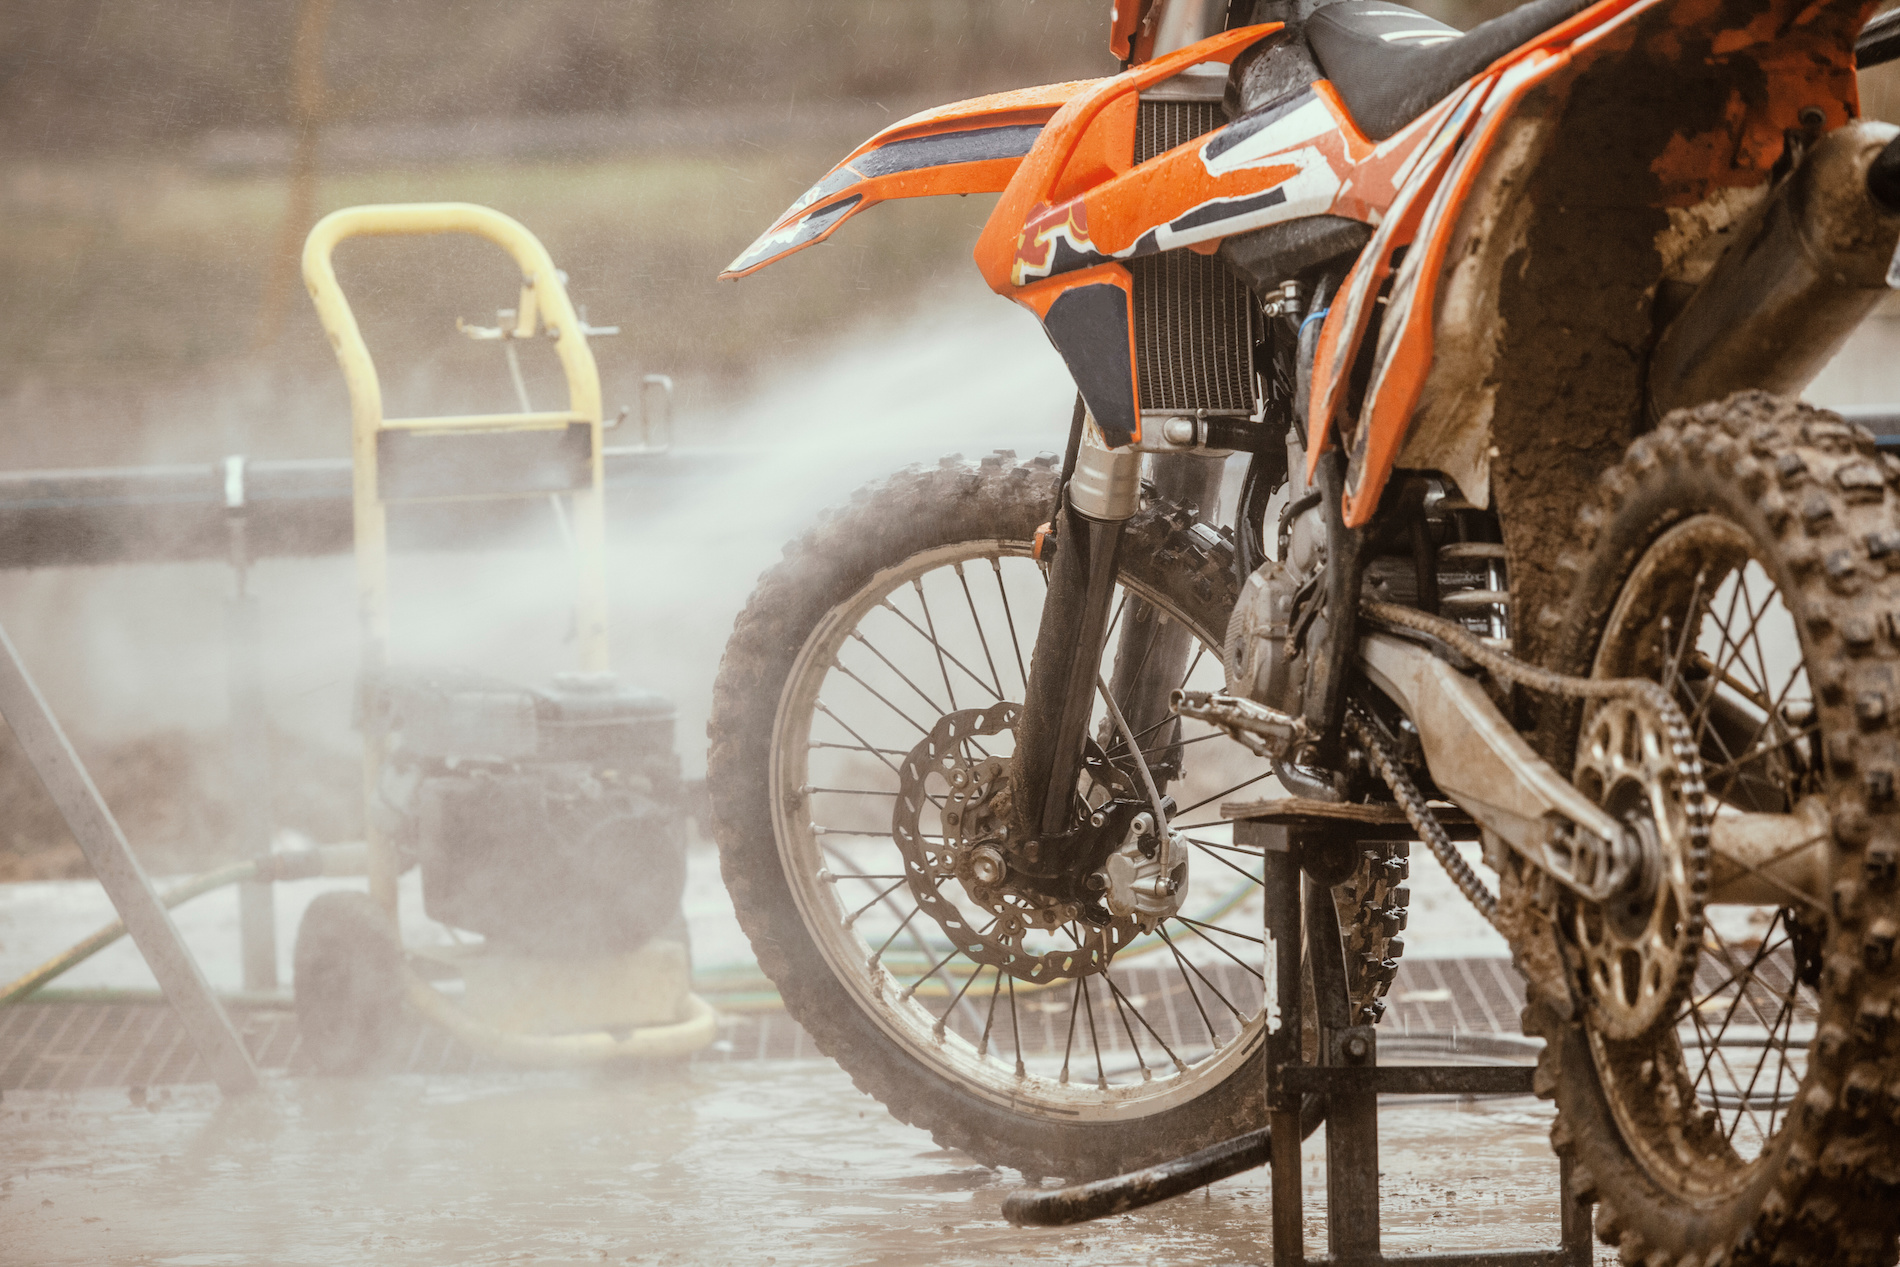
The first, and probably most obvious thing you should always do is wash your bike after each and every ride. No exceptions! Mud and grime are easier to clean off of any surface when they are fresh, so grab a bucket of clean water and some soft brushes to knock off all of the debris, but be careful… You don’t want to force water into any engine components or damage any of the electrical components while you are cleaning. If you are really concerned about engine damage, consider grabbing an airbox cover and using it to seal off the carburetor while cleaning. After you wash, and before you inspect the rest of your bike, be sure to dry it with a microfiber cloth or even a leaf blower if you’re in a hurry.
After washing, you’ll want to quickly but carefully check for any leaks by looking underneath the bike for oil drops or any other fluids that shouldn’t be there. A small leak may not seem like a huge problem, but if not addressed during its infancy, it can turn into a massive headache for you and your mechanic.
Next, you’ll want to check your chain for any damage or mud. If the chain is extremely muddy, or the mud has started to dry and it’s hard to remove, allow it to dry overnight and then brush it off with an abrasive brush. After cleaning your dirt bike chains, check the tension to ensure it’s not too tight or too loose. If it seems too tight, be sure to loosen it before your next ride, as you always want a small amount of slack in the chain. If, however, it seems too loose and you are able to remove the chain from the rear sprocket, it’s time to replace it. Once your chain is clean and has the correct tension, be sure to lubricate it with high-quality chain lube.
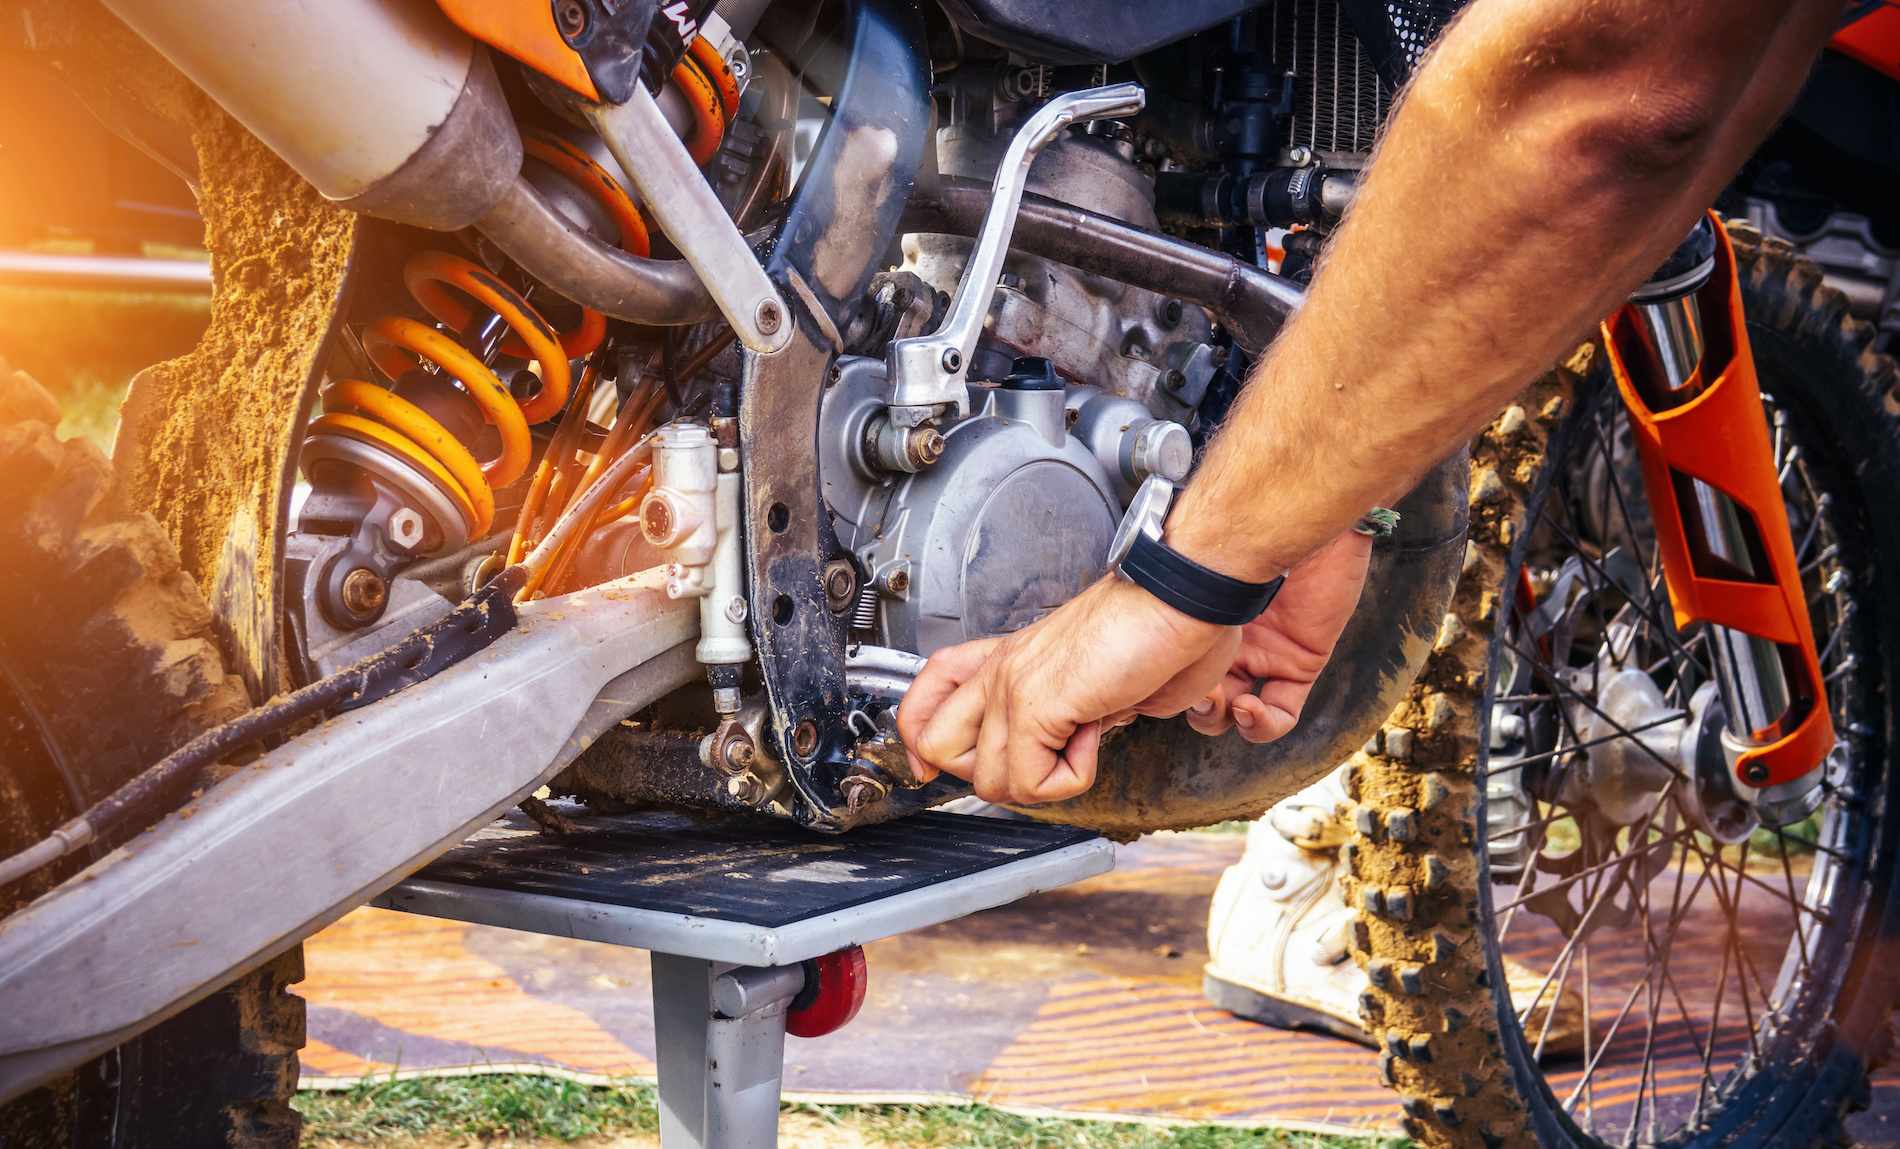
You always want to be sure to check for any loose bolts and tighten those that you find. This may seem like common sense, but you’d be surprised how many people skip this step. While checking for loose bolts, you should also thoroughly inspect all of your controls and control cables to ensure everything works as it should when you are ripping around a trail. Check for fraying, kinks, or anything that seems ‘wrong.’
Next comes the air filter. Keeping dirt bike air filters clean and clear will not only help with performance but protect your bike’s engine from costly damage. If it appears dirty, clean it with an air filter cleaner or a mix of water and household cleaner, and then allow it to dry before reinstalling it.
Ensure your tire pressures are at the correct level for the terrain you plan on riding. The PSI for muddy conditions vs dry conditions is very different.
Checking and changing fluids like oil, brake fluid, and coolant is VITALLY important for both performance and longevity. Some people insist that you change your oil after every ride, while others say it's only necessary after every 8-10 hours of ride time. Make sure you don’t slack off in this area, however, or you may be in for a hefty repair bill when something breaks.
Finally, grease all of the seals and bearings on your bike! The grease keeps out water and dirt, and also provides lubrication for the more important parts of your engine. Remember, if anything looks wrong, get in touch with your mechanic!!
Motorcycle Maintenance Checklist
Aside from the regular maintenance required after every ride or two, there are also things that need to be maintained less regularly. This can mean replacing, repairing, or simply inspecting various parts of your bike for issues. There are a LOT of parts on a dirt bike, so many serious riders keep a maintenance log to ensure that they don’t forget about any of the parts that don’t need attention as often. Below is a list of parts and how each should be maintained to ensure peak performance and safety from your bike.
| Fuel Line | Inspect after every 2.5 hours, and replace after every 30, or per year. |
| Fuel Pump Filter | Replace every 30 hours of ride time, or once per year. |
| Throttle Operation | Inspect after every 3 hours of ride time. |
| Air Filter | Clean after every ride and replace if necessary. |
| Crankcase Breather | Inspect after every 3 hours of ride time. |
| Spark Plug | Inspect after every 3 hours of ride time and replace if worn or damaged. |
| Valve Clearance | Inspect after you first break the bike in, and after every 15 hours of operation. |
| Engine Oil | Replace after the first break-in, check after every 3 hours of riding & replace every 8-10. |
| Engine Oil Filter | Replace after the first break-in, and every 15 hours of riding after. |
| Engine Idle Speed | Inspect before and after every ride. |
| Pistons and Rings | Replace after every 15 hours of riding. |
| Piston Pin | Replace after every 15 hours of riding. |
| Transmission Oil | Inspect after every 3 hours of riding, and replace after every 15, or whenever you replace the clutch disks and plates. |
| Radiator Coolant | Replace after every 2 years but inspect after every 3 riding hours. |
| Cooling System | Inspect after every 3 riding hours. |
| Drive Chain | Inspect and lubricate after every 2-3 rides, and replace after every 8 riding hours. |
| Drive Chain Slider | Inspect after every 3 riding hours. |
| Drive Chain Roller | Inspect after every 3 riding hours. |
| Drive Sprocket | Inspect after every 3 riding hours. |
| Driven Sprocket | Inspect after every 3 riding hours. |
| Brake Fluid | Replace after every 2 years and inspect after every 3 riding hours. |
| Brake Pads | Inspect after every 3 riding hours. |
| Brake System | Inspect after every 3 riding hours. |
| Clutch System | Inspect after every 3 riding hours. |
| Control Cables | Inspect after every 3 riding hours. |
| Exhaust Pipe/Muffler | Inspect and lubricate every 2-3 riding hours. |
| Suspension | Inspect after every 2-3 riding hours. |
| Shock Linkage | Inspect after every 2-3 riding hours and lubricate after every 8 riding hours. |
| Fork Oil | Replace after the first break-in and after every 8 riding hours. |
| Nuts/Bolts/Fasteners | Inspect after every ride. |
| Wheels/Tires | Inspect after every ride. |
|
Steering Head Bearings |
Inspect after every 20-25 riding hours.
|
You may be thinking to yourself, “wow…that’s a lot to keep track of.” You aren’t wrong, but if you get into the habit of maintaining every part of your bike early on, you can avoid a lot of problems down the road. To ensure you are prepared to maintain your bike, you should stock your garage with a few special tools. Most of the maintenance you’ll be doing doesn’t require anything special, but there are a few things you may want to consider picking up. This list includes spoke wrenches, tire irons, tire gauges, some sort of tool to inflate tires, plug wrenches, chain maintenance tools, wire pliers, torque wrenches, and possibly some other specialty tools, though these should be left to experienced mechanics.

Most Common Dirt Bike Repair Issues
When maintaining your bike, you may run into any number of issues, but there are definitely some that are much more common than others. Bearings tend to last a very long time when properly lubricated, but often we forget they even exist because of how long they can last. The most common way of diagnosing bearing issues is by listening for a distinct grinding noise and paying attention to any handling issues you experience while riding. Dirt and moisture can eventually break your bearings down, so be sure to follow the dirt bike maintenance checklist above to ensure the longest bearing life possible.
Another common issue is carburetor o-ring damage. If your bike is 10 years old or more, and you have never replaced your o-rings, consider doing so to prevent damage to your bike. The o-ring is a super simple part as far as a dirt bike is concerned, but when they do wear out you can experience fuel leaks and a large loss in performance. Your bike may even cease to run at all.
The last common issue that we will mention is brake fluid and when to change it. If your bike is in tiptop shape, and everything is working properly, the brake fluid is probably ok. It is, however, important to check it often and ensure that it’s not starting to get dirty. As soon as it starts to look a little mucky, it’s time for a change. Also, if you feel ‘squishiness’ when braking, it’s definitely time for a change. This isn’t only a performance and longevity issue, but a safety issue as well. If your brakes fail on a fast turn, we all know what could happen. Speaking of brakes, there are a few things to keep in mind as far as maintenance goes.
Important Maintenance for Dirt Bike Brakes
Brakes consist of multiple parts, but the most important maintenance for any dirt bike rider to perform consists of a pad, drum/disc, and fluid maintenance. Whether you ride a bike with disc or drum brakes, they all have a few things in common. The brake pads are one of the fastest wearing parts on any motorcycle or off-road vehicle, so it’s more than important to inspect them often to ensure they are still in good working order. The thing to keep in mind with your pads is that they need to have the perfect amount of friction to ensure optimum performance. If they are too “sticky” you might tap the brakes and end up 30 feet in front of your bike! If they aren’t sticky enough, you may end up in a field you didn’t intend to ride into. The moral of the story is that you want to make sure you’re using the correct type of brake pads for the environment you are riding in and that they are not too worn to work. As stated above, you also want to inspect your brake fluid regularly and replace it as needed.
Dirt Bike Chains Maintenance
One of the most important and yet overlooked aspects of dirt bike maintenance is the chain. Checking chain tension isn’t just important for protecting the life of your chain, but potentially your wellbeing as well. Since the drive chain’s sole purpose is to transfer energy from the engine to the rear sprocket, and in turn to the rear wheel, a broken chain or one that hops off of the sprocket is an obvious cause for concern. There are a few things to look out for when inspecting your chain.
First, you want to check for any obvious damage. If you notice anything at all that is out of place, it’s time for a replacement. It’s not worth risking damage to your bike or to yourself, so grab a new one and get it installed.
If there is no obvious damage, check the tension of the chain. If it’s too loose (you can remove it from the sprocket easily) there’s a chance that it could hop the sprocket while you’re riding and cause a lot of damage. If it’s too tight (always be sure there is a little give in the chain) it could break, also leading to a lot of damage. Consult the owner’s manual for the correct drive chain slack, and always keep it lubricated and clean.

When to Change Dirt Bike Air Filters
The first way to ensure your air filter stays working is to start with a high-quality filter in the first place. Higher quality filters will combat the elements you will encounter while riding such as dust, pollen, mud, and water. Checking the air filter may not be as easy as many backyard bike mechanics think it is since it’s not just about making sure it’s still in one piece. There could be debris embedded deep inside that isn't even visible, so be sure to replace it at the first sign of dirt or any other kind of build-up. If you look at your filter and think it might be time to replace it, replace it immediately. There’s no point in letting such a cheap part lead to the death of your dirt bike.
When to Change a Dirt Bike Oil Filter
As far as your oil and dirt bike oil filters are concerned, there are MANY differing opinions. The easy answer is that there is no easy answer. It truly depends on how you ride your bike and what type of rider you are. Some racers and serious mountain trail riders insist that you should change your oil once every other ride, and your filter every other oil change. Some other riders say you should change your oil, oil filter, and transmission oil every 15 or so riding hours. The one rule that holds steady for all dirt bike riders is that you should at the very least inspect your oil after every 2-3 hours of riding. If you don’t think you need a change yet, but notice after inserting and checking the levels with your dipstick that you are low on oil, simply add enough to top off the tank. Be sure not to overfill, but don’t ever go on a long ride with an insufficient amount of oil.
How to Test a Dirt Bike Battery
If you think your bike is having battery problems, there is an easy set of instructions to follow for troubleshooting purposes.
- Make sure it’s actually a dirt bike battery problem and not mechanical! Check your side stand, clutch, and any other electrical switches that may be toggled as there are a lot of them on modern bikes that won’t allow the bike to start if they are switched.
- Check the battery’s voltage. If the reading on a multimeter is between 10.50 and 11.90 volts, there is a good chance the battery is toast. You can try charging it and going for a short ride, but you’ll most likely have to replace the battery. If it’s between 12.06 and 12.62 volts, just give it a charge and hit the trails. Anything above these numbers means you are at 100% charge, and good to go.
While there could be issues beyond a dead battery, the chances are your battery is shot. If it seems ok, yet you still can’t start your bike, you can try performing a cranking voltage test followed by a current draw test, though these are somewhat complicated procedures, so proceed with caution or hire a mechanic.
Your Partner for All Dirt Bike Maintenance Parts
No matter what kind of maintenance you need to perform on your dirt bike, ZMP has the parts you need. Whether you ride a 20-year-old beast or a brand new rocket, you can count on us to provide all of the support you need to get the most out of your ride.

